Getting Started with DragonBoard 410c
A quick guide to getting started with the DragonBoard 410c.

DragonBoard 410c, Getting Started, DragonBoard 410c review, single board computer, node.js, tutorial , getting started with DragonBoard 410c, DragonBoard 410c specs, Raspberry Pi alternatives, cheapest Raspberry Pi alternative,

Things used in this project
Story
I received this product for free so that I could provide product feedback to the company and post a product review. I was not required to write a positive review, just an honest one.
Hardware Setup
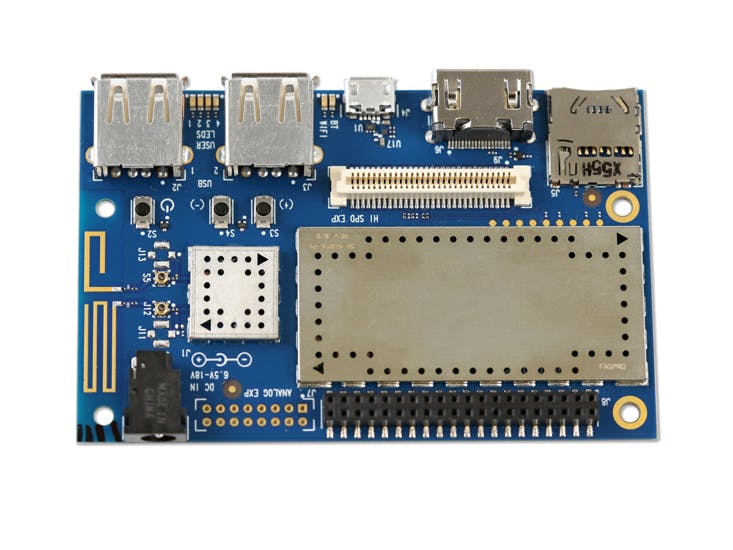
Power: Unfortunately I didn't have a power adapter with the correct size plug, so I just used the GPIO header to supply 12V power.
Input: I connected a USB keyboard (wired) and USB mouse (wireless w/ USB dongle).
Video: Connected HDMI to a small HDMI monitor
Software Setup
NOTE: The directions/versions were as of 29 November 2015, so future versions may have different setup options and issues.
I followed the SD card method from the install guide ( see the "Useful Links" section for the link ). The directions don't seem to really address using a Windows system, so I used Win32DiskImager to install the image to the SD card. This method worked for the Linux and Android installation. My initial tests were focused on basic usage, as if this was going to be used as a desktop replacement. I know most users will get this board for more than just a desktop style system, but no matter what you do you will likely use some of those basic capabilities as a starting point.
Android Notes
Android 5.1.1 was installed. I really liked this option, simply because it is fairly easy to use for someone who is already familiar with Android devices. Basic on some simple testing, here are a few things I noticed:
- The power button on the board acts like a power button on an Android phone/tablet. A quick press turns the screen on/off, and a long press brings up a menu option to turn the device off.
- When you turn the unit off in software, it stays off for a little bit then turns on again.
- F-Droid is installed, you can use this to get applications.
- Firefox is installed which is nice since you have a good browser ready to go.
- Youtube videos seemed ok
- You can install the Amazon market. I had to hunt around for a good link, most of the time it would just tell me to go to a link from my phone/tablet but I guess using the device (with Firefox) just confused Amazon and wouldn't provide a download link. The link that worked for me will be in the "Useful Links" section.
- Audio worked over HDMI
- Unfortunately, no Android market comes installed
Linaro Notes
I was expecting a full Ubuntu install, but instead I got a Linaro version/revision based on Ubuntu. The version I tested didn't feel like a complete setup. Here are some notes from my testing:
- Username and password are the same ( linaro )
- When you turn the unit off in software, it stays off for a little bit then turns on again.
- Using Youtube (in the included browser) wasn't too good, in fullscreen mode it seemed unstable.
- Audio worked over HDMI
Wrap up
Just based on my initial testing for basic desktop functionality, I liked the Android setup better because most users will be familiar with it and it seemed to have more options for getting software. Of course, if you are more comfortable with a standard linux environment like Ubuntu, then the Linaro option might work better for you.
Overall this board seems like a neat gadget, I plan to read up on it more in the forums and see what projects I can come up with.
Useful Links


Post a Comment